Having finally finished with eye brushes, we have now moved on to brushes for the face. I'm starting this series with the ever useful foundation brushes. Now, you can apply foundation with your fingers or a sponge, but at some point most people will at least try a brush. Most of these brushes are good for liquid or cream foundation, some are good for powder foundations, but an upcoming post will focus on powder brushes, so if you're looking for a powder foundation brush, you may also want to check out that one once it's up. You'll also notice stippling brushes are not featured, though a lot of people use them for foundation; stippling/duo fibre brushes will have a post of their own along the way.
Flat Foundation Brushes
The classic foundation brush, this brush is usually used to stroke foundation on the face, rather than buff or stipple it. It can leave streaks, but those are usually a result of using too much foundation, as they work best with small amounts and thin layers. They also have the benefit of not irritating sensitive skin as buffing foundation can do. If you're sensitive or dry, either one of these or a sponge will be your best bet. I like these for liquid foundation quite a bit, especially thinner formulations; they are also good for cream foundations. The smaller ones make for good concealer brushes for use in large areas.
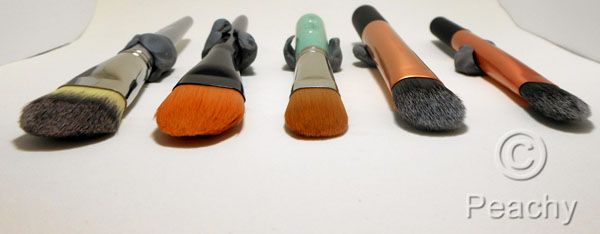
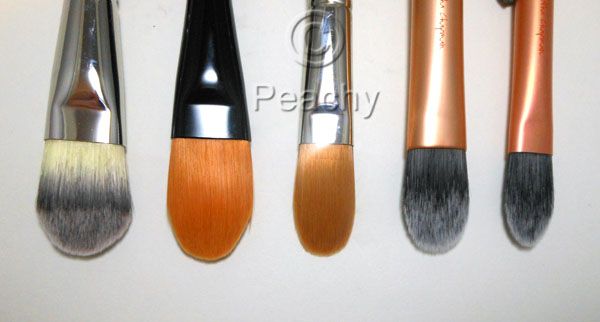
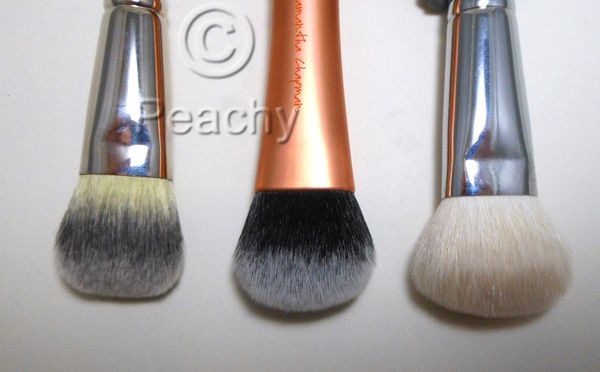
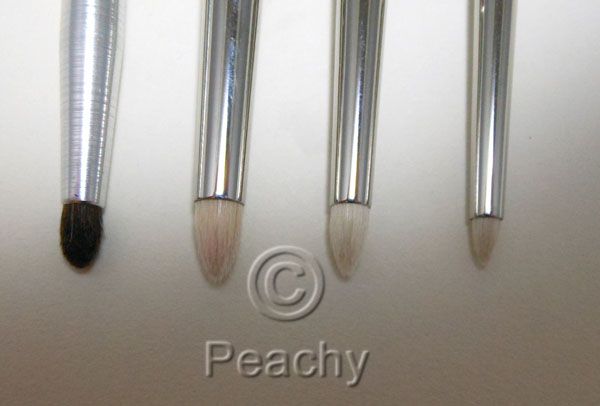
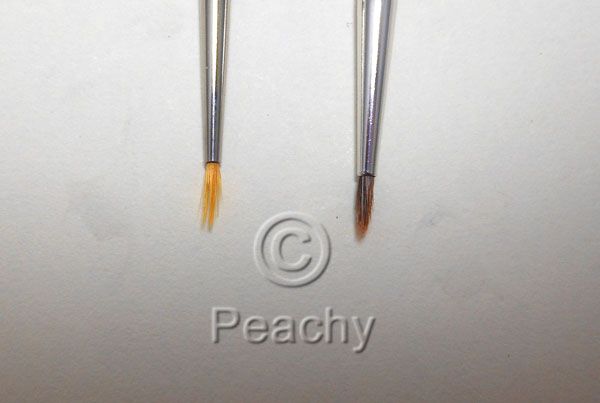
From left to right: Sephora Platinum Foundation Brush, Paula Dorf Foundation Brush, Body and Soul Foundation Brush, Real Techniques Essential Foundation Brush, Real Techniques Pointed Foundation Brush. These are all synthetic, and the orange are taklon while the two-color ones have been distressed at the tip to aid in product pick up. Smaller versions fit around the nose and under the eye, while the bigger brushes make for speedy work applying foundation.
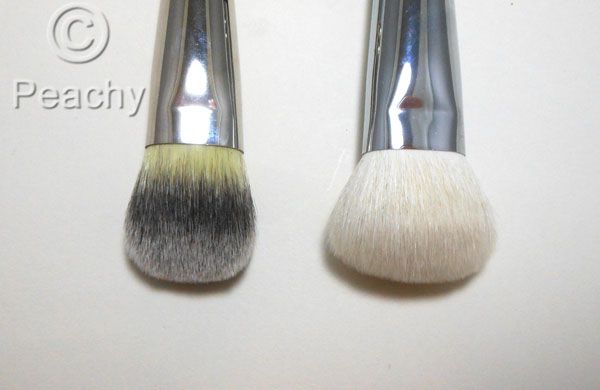
Buffing Brushes
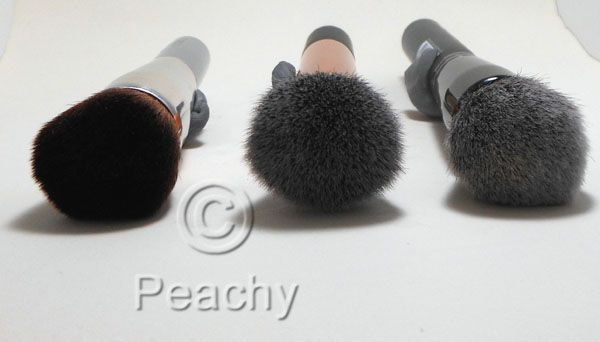
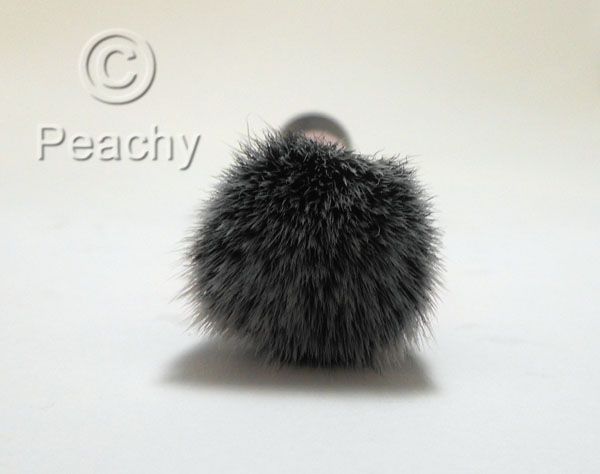
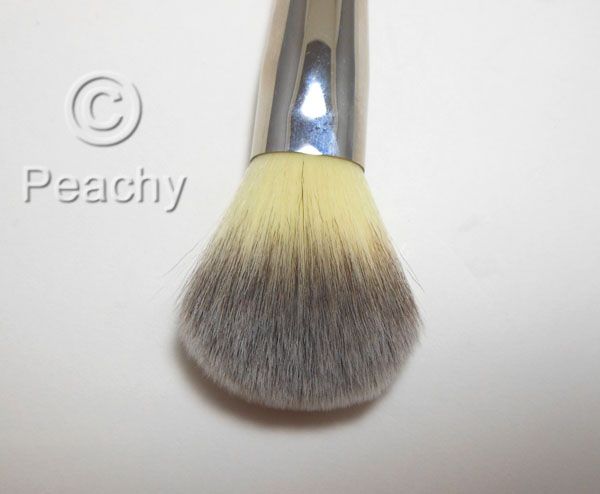
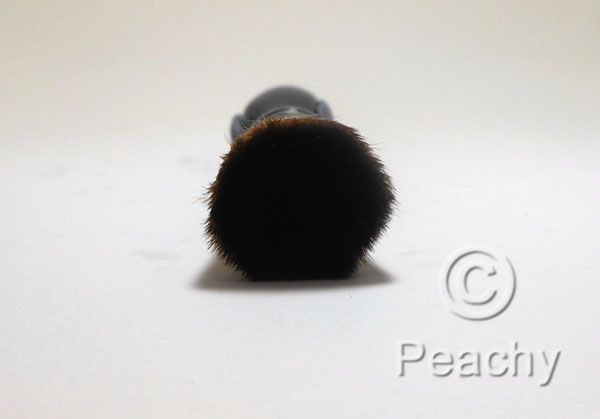
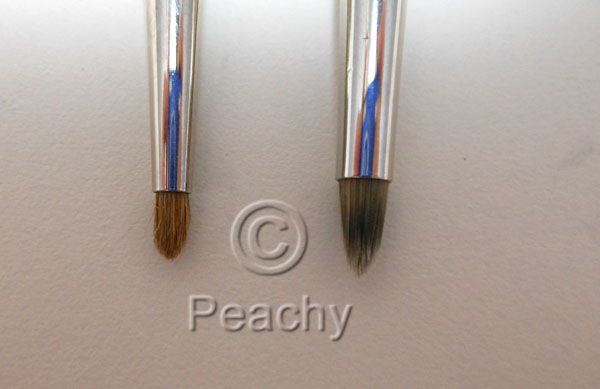
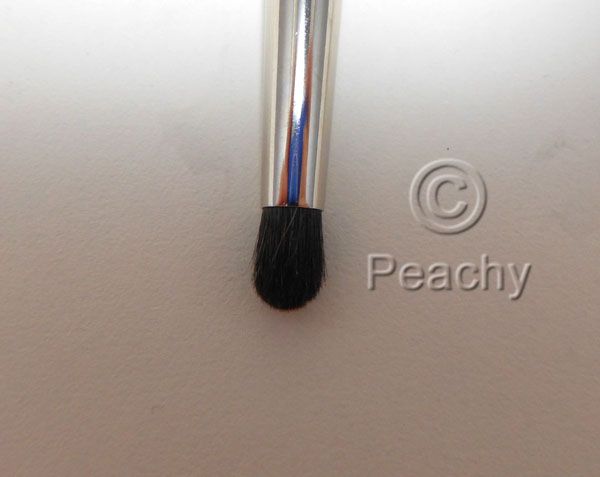
L to R: Cargo Magic Brush, Real Techniques Buffing Brush, Sephora Classic Mineral Powder. I mentioned at the top that some of these brushes are good for powder: here they are. These are great for getting good coverage and a flawless finish from a powder foundation; I imagine they're equally useful for mineral powders, though I have never used a mineral foundation. They are also perfect for liquid foundation. These buff foundation into the skin, so they're great for thick, dense, or cream foundations, allowing them to blend into the skin and either sheering down or building up the coverage. I feel for thinner liquid foundations, they can remove as much as they apply, but I know plenty of people who use them for thin liquids, too, and they like them.
Buffing brushes are a great all around foundation brush, and they can also apply blush, cream or powder. When I'm travelling, I often pack MAC Studio Fix plus powder and a blush and one of these brushes, and that's it. I get really good results, and, if I'm wearing my glasses, I probably don't need eye makeup. These can also blend foundation that's been applied with another brush or fingers.
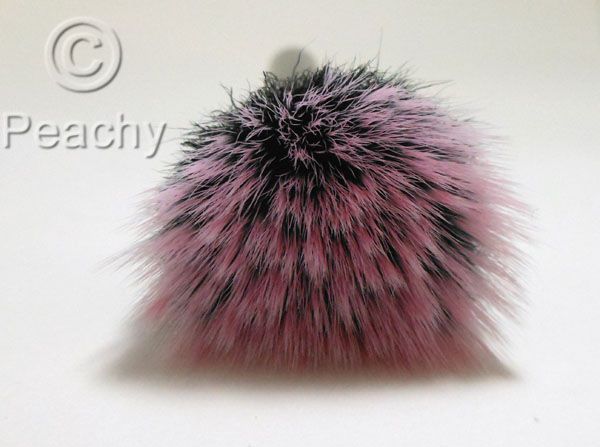
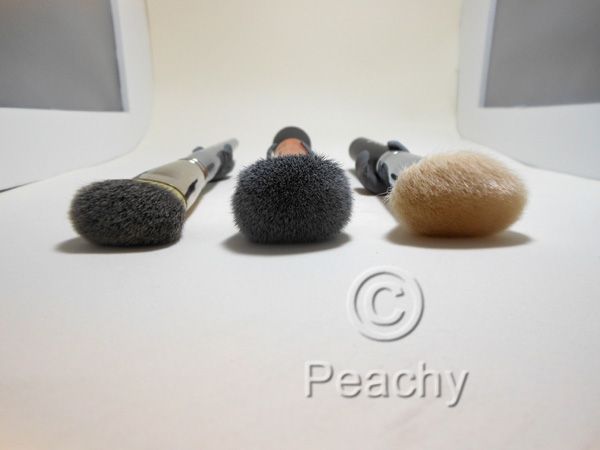
Airbrush Foundation Brush
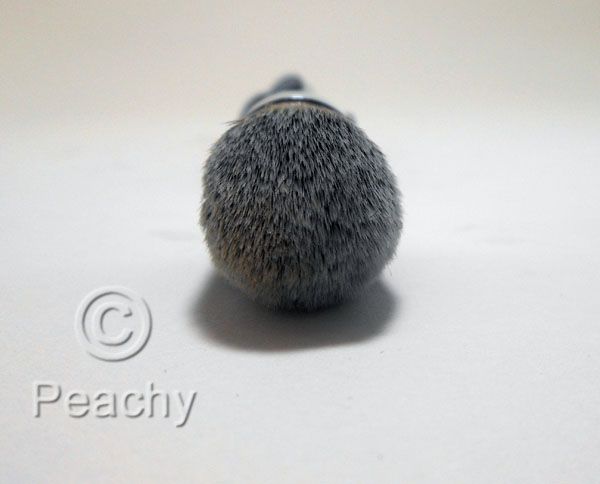
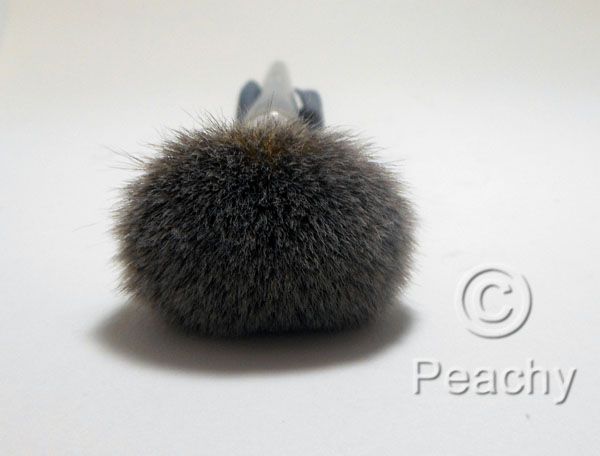
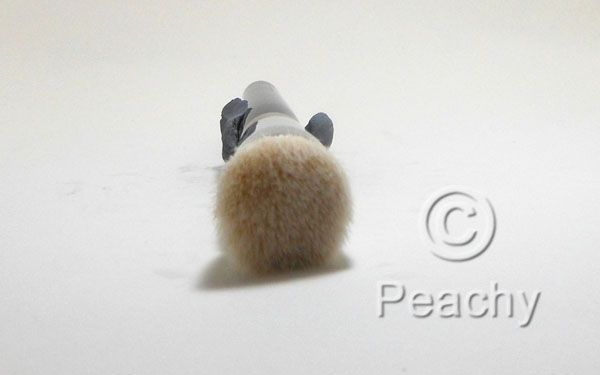
A big, fluffy foundation brush (also a powder brush) by Sephora, is also synthetic, like all the brushes featured in this post. It deposits a fair amount of product, so you get good coverage from most liquids, but it also blends lightly. It reminds me a bit of a stippling brush, but without the streaking often associated with those brushes, or like a much less dense buffing brush.
If you compare the above picture with the end picture of the buffing brush, you'll see how much fluffier it is than the latter. It has a very light touch.
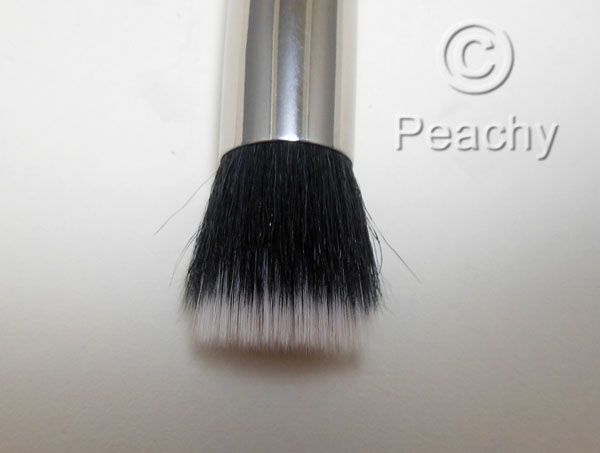
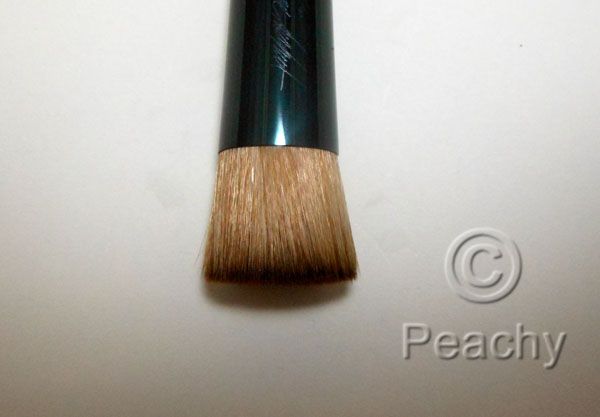
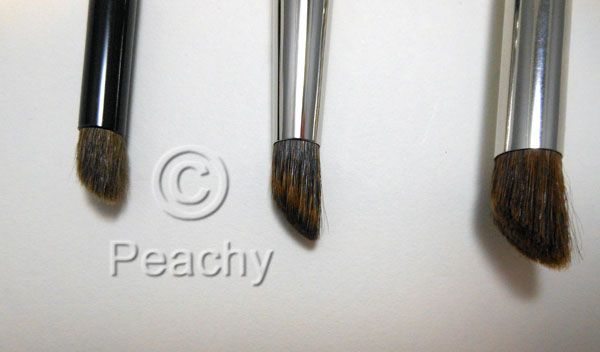
Flat-topped Foundation Brush
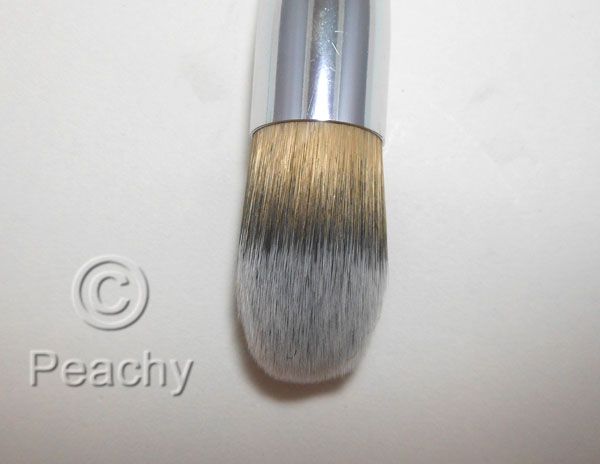
A much denser foundation brush than the last one, this Sonia Kashuk brush has a flat top. Again, good for buffing in foundation, the flat top (rather than the rounded top of the buffing brush) means that the foundation needs more blending around the edges. It does, however, work the foundation into the skin more, which is great for creams or dense liquids. It also doesn't really streak at all, since the dense, flat surface acts as a single entity rather than many individual hairs.
I like this brush even more as a cream blush brush, as it works cream blush into the skin really well.
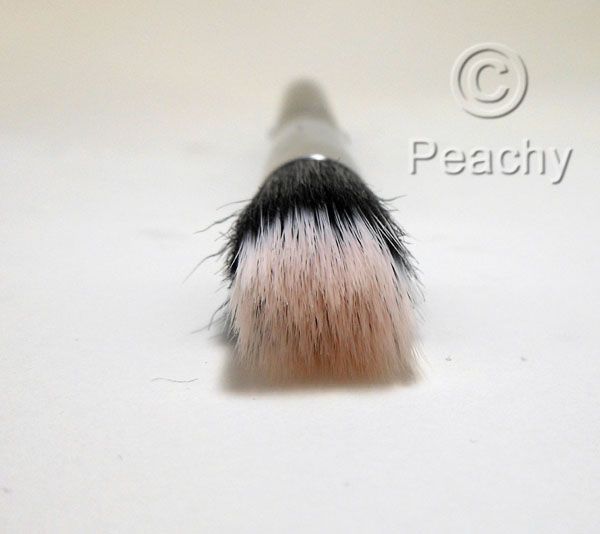
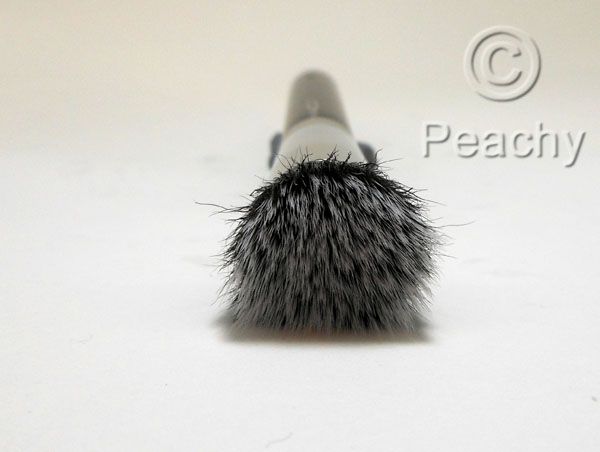
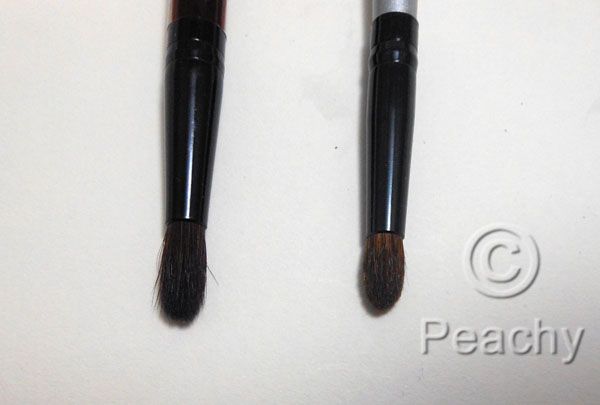
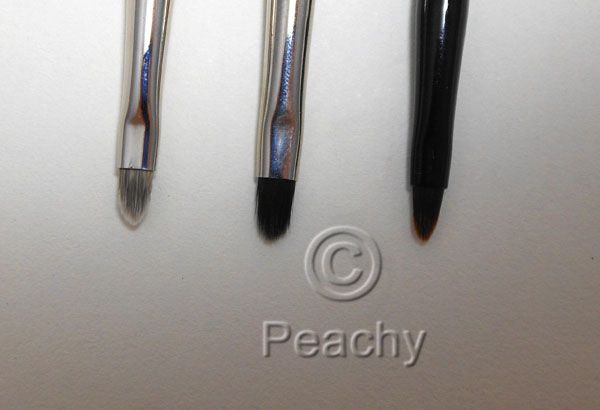
Small Buffing Foundation Brush
I could not figure out what to call these brushes, the Sephora Airbrush Precision, Real Techniques Expert Face brush and Cover FX Cream foundation brush. These brushes are terrific for cream foundations, even better for blending cream blushes into the skin, and are the best cream contour brushes I have ever come across. I've been using the Cover FX one with my Tom Ford Shade and Illuminate and it is a match made in heaven. As foundation brushes, these combine the best elements of a buffing brush and a flat foundation brush. They can be used to both buff and stroke on foundation, work well around the edges and features.
As you can see here, these have a pinched ferrule, which is, I believe, the feature that sets them apart from the round buffing brushes. It's what gives them their versatility and their ability to glide around features and to contour and blend.
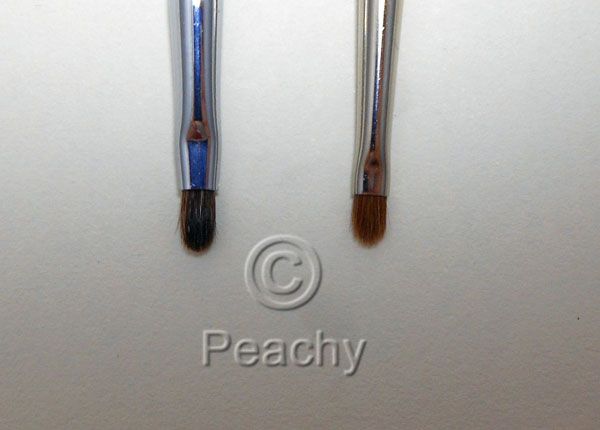
Angled Foundation Brush
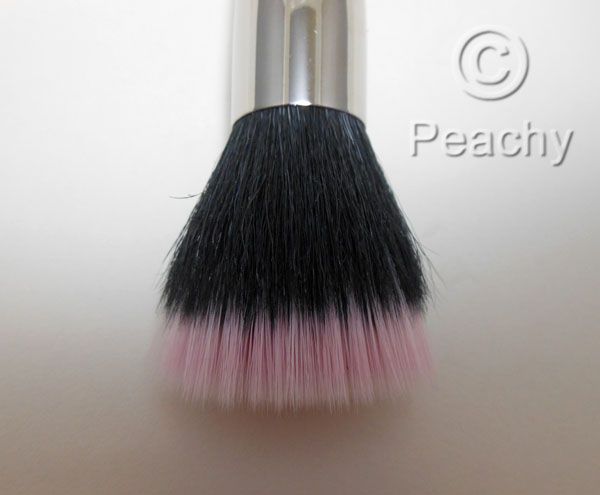
This Hakuhodo G5555 is technically a duo-fibre brush, as it has synthetic hairs that are longer than goat hairs, in this case, 2 mm longer. I decided to include it here, because there are several other angled foundation brushes, by Sigma and Shiseido to name two, that I don't have, and I wanted to include the category. The angle on this brush makes it feel nicer in the hand, and helps to ensure contact with the flat part of the brush against the skin.
I really like this brush, and it would be good for cream blush, but, since this particular Hakuhodo version comes in so many variations, I would suggest one of the smaller or 4mm styles for blush. In general, I think angled foundation brushes provide the same benefits as the previous brushes in a more user friendly package.
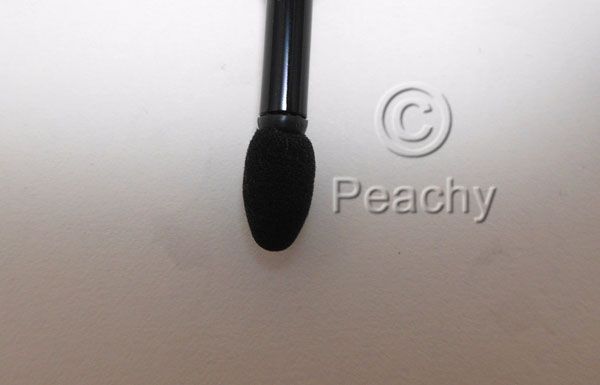
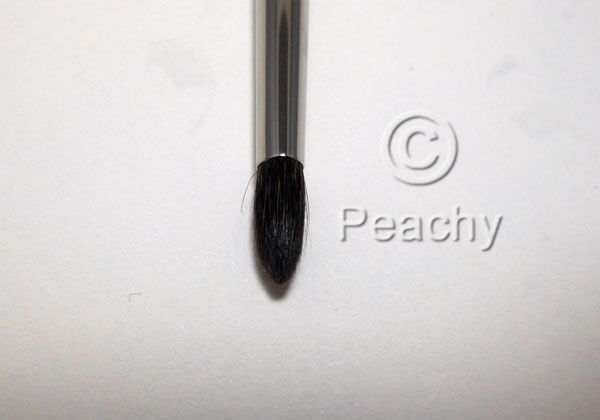
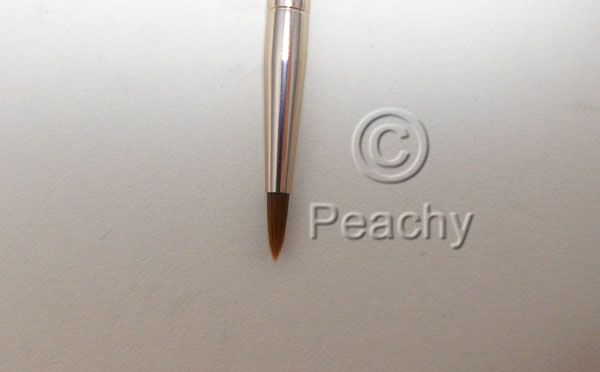
Pointed Foundation Brush
Perhaps my favorite of the foundation brushes, the pointed foundation brush, this one the Stila One-Step Complexion brush, is the one I would recommend to those dedicated to using their fingers to apply foundation. This brush replicates a lot of the good things about them, plus a lot of good things about brushes. This is probably my favorite foundation brush for applying Make Up For Ever Face and Body (which is one of my favorite foundations of all time), and if I'm wearing it in one of my posts, it's likely been applied with this brush. Because it's small it fits around the nose and under the eyes, but because it's dense, it blends flawlessly, and because it's pointed, it doesn't suck up too much foundation and waste it as it's mostly surface area.
The pointed foundation brush is also amazing for applying cream blush, cream contour, and powder foundation. Good for blending concealer around the eyes and nose, which is handy as this particular brush has a concealer brush on the other side.
Pros and Cons
Pros: All of these brushes apply and/or blend foundation onto the skin. A lot of the choice has to do with the type of foundation you're using and the finish you want to achieve. I think Buffing Brushes offer the best ease to result ratio, but my favorites are the Small Buffing brushes and the pointed foundation brush because they're smaller, more versatile, and provide more control. Whatever foundation brush you pick, I really do prefer using a brush over fingers, though I do like using sponges, especially for cream foundations.
Cons: The denser the brush the harder it is to clean. Buffing brushes and their ilk soak up foundation, which makes them both wasteful and a pain to clean. The flat foundation brushes are certainly easier to clean, but they have the reputation for streaks and unevenness. The smaller brushes might be frustrating to use for applying foundation all over the skin, as they require more strokes and more time. I would also never use a buffing brush of any size on sensitive or very dry skin as it would likely irritate it and/or make flakes more obvious.
The brushes featured in this post are: Sephora Platinum Foundation Brush 47 (*the whole Platinum line has been discontinued at Sephora and replaced with the Pro line, the number and the shape carried over, but I have no idea on any other similarities or differences), Paula Dorf Foundation Brush (from a travel set), Body and Soul Foundation Brush (dc'd as far as I can tell), Real Techniques Essential Foundation Brush from Travel Essentials, Pointed Foundation Brush from Core Collection, Cargo Magic Brush, Real Techniques Buffing Brush from the Core Collection, Sephora Classic Mineral Powder Brush 45, Sephora Platinum Airbrush 55 (see above note on Platinum brushes), Sonia Kashuk Synthetic Flat-top Multipurpose rush, Sephora Platinum Airbrush Precision Brush 56 (again, see note above), Cover FX Cream Foundation Brush 160, Hakuhodo G5555-2mm Powder & Liquid Brush round/angled, Stila One-Step Complexion Brush 33. All were purchased and I have received no compensation for featuring them.


